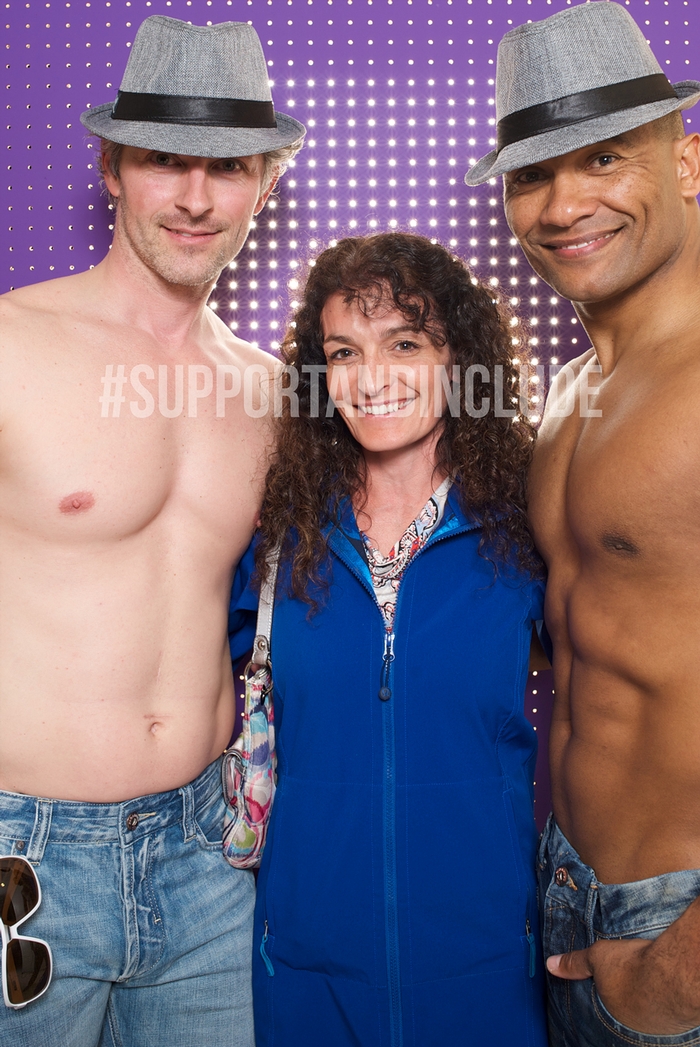
Photo by Kelly Moss Photography
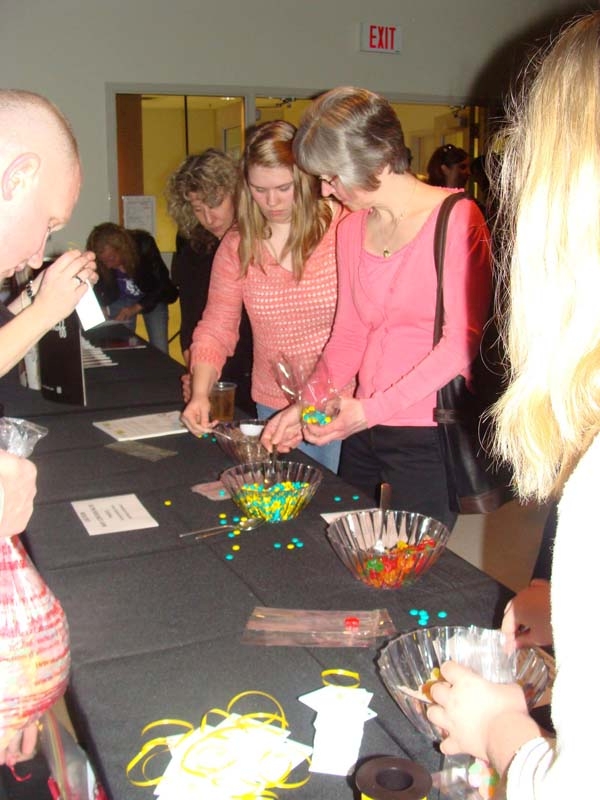
Photo by Kelly Moss Photography
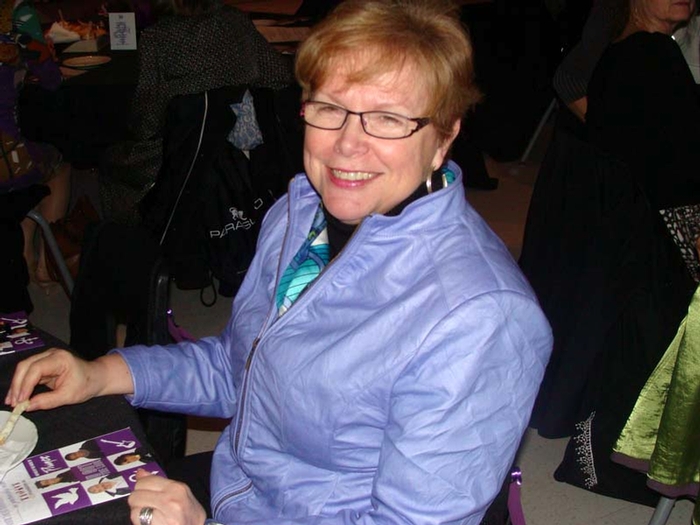
Photo by Kelly Moss Photography
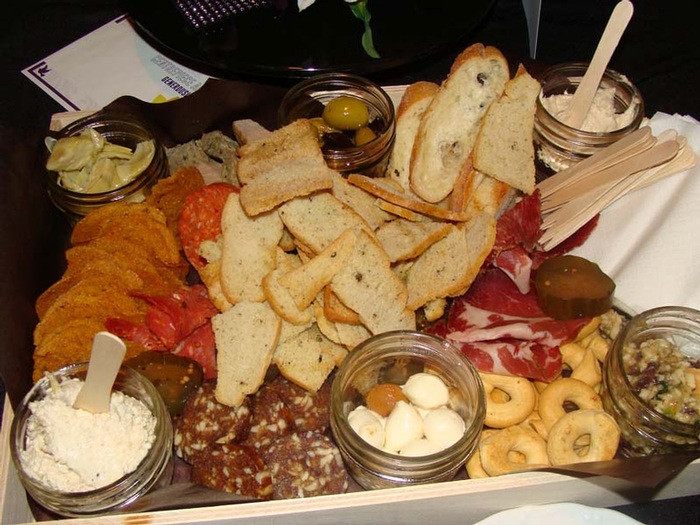
Photo by Kelly Moss Photography
Photo by Kelly Moss Photography
Photo by Kelly Moss Photography
Photo by Kelly Moss Photography
Photo by Kelly Moss Photography
Photo by Kelly Moss Photography
Photo by Kelly Moss Photography
Photo by Kelly Moss Photography
Photo by Kelly Moss Photography
Photo by Kelly Moss Photography
Photo by Kelly Moss Photography
Photo by Kelly Moss Photography
Photo by Kelly Moss Photography
Photo by Kelly Moss Photography
Photo by Kelly Moss Photography
Photo by Kelly Moss Photography
Photo by Kelly Moss Photography
Displaying images
81 - 100
of 113


